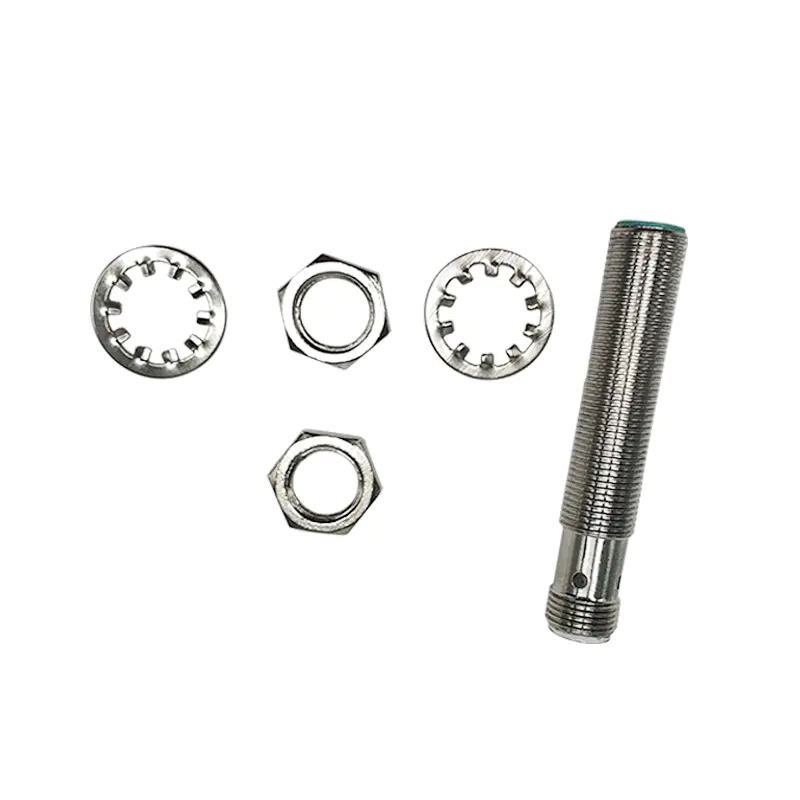
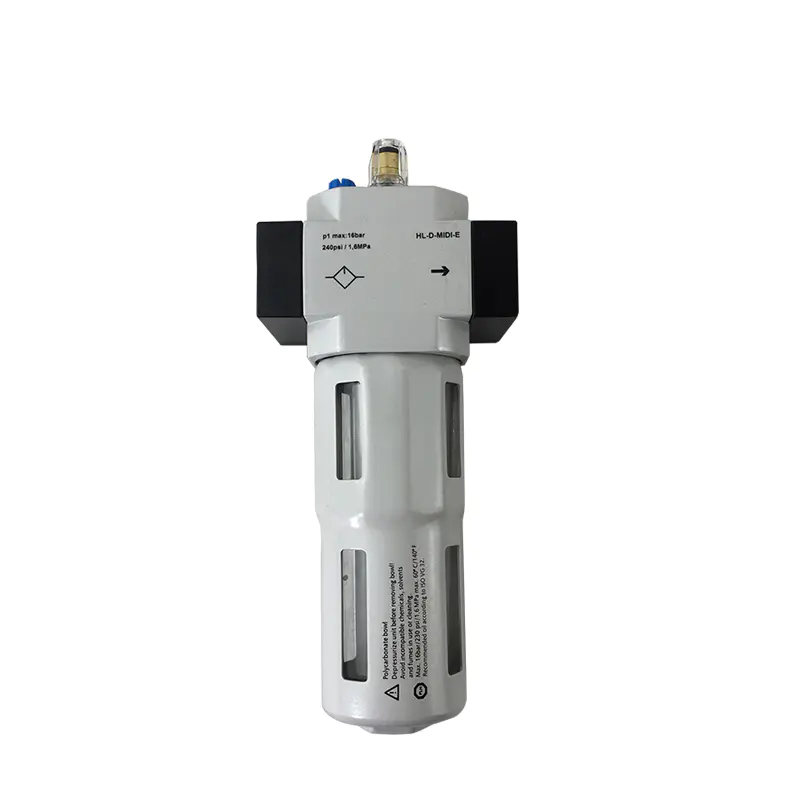
I need to be on vacation and unfortunately I have bonsais although I don\'t have children. Like children, these small animals need constant care, especially water. Each day. Argh! Why can\'t they drink beer/wine themselves? Anyways. . . Faced with no one close enough or willing to take care of them, I decided to create my own watering system using solenoid valves and Arduino. At this point, it is easier and cheaper to buy an industry --made timer. However, the final project will include the schedule and/or humidity watering on the base ball, as well as a wireless logging system that will tell me if everything is as expected when I am away But let\'s start with the basic project, because it may be enough for the normal factory. . . I can\'t talk (again) In the details of the back potential, why is it annoying, why do you need a flywheel diode, as I have already discussed in another note here. You need that diode! Solenoid Valve: it is just a valve controlled by a solenoid valve. Like a relay and a motor, it is a inductive load ( Also known as IC buster, read anti-EMF if it\'s not finished yet! ). There are usually two flavors: open or close. Usually when-there-is-no-current-in-the-solenoid. If you are in NC (Normally closed) Solenoid valve, water will be blocked. If you supply the magnet with the expected current/voltage, the valve will open and the water will flow. For NO (Normally Open) On the contrary. This is not the only variable. Heat is generated when the current flows in the magnet. Most solenoid valves are not used continuously. They have to rest and cool during use or they fry. Promise to read small print before buying! Think about your project: Do you water the garden once or twice a day, or do you fill the Olympic pool with a garden hose? MOSFET: in short, MOSFET is like a light switch. You apply some voltage to the gate terminal, and the resistance between the drain and the source drops, allowing a lot of current to pass through. Small amounts of heat (but real) Internal resistance, you need to process it, otherwise the MOSFET may melt. Also, nothing is perfect in terms of design, they are easily affected by static electricity. Here we will use N- Channel MOSFET, so don\'t be surprised if you see it connected between the solenoid and the ground. Power: as you can see I only use one 12 v lead Acid batteries in this project power Arduino and solenoid. Usually, this is not a good idea. . . Let me explain: your Arduino, can handle 7-according to the official website- 20 volts, they recommend 7- 12 V, explain that more than 12 V will cause the circuit board to overheat. The reason is that Arduino uses a linear voltage regulator to eliminate additional voltage by heating it. If you give 7v0 5A to a linear regulator like LM7805, you get 5 v and 2Vx0. 5A= 1W of heat. If you give it 12. 6V ( Typical voltage of full-charged lead-acid battery) You need to remove 3. 8W of heat. Do you see the radiator on the board? No? Actually, the board is (very limited)heat sink. That\'s why I use 85% efficient DC- I did the DC buck converter before. Since the construction of the switch regulator is another project, I will provide you with two leads. The first one ( Inspiration for your own project) It was a project by Jim Stewart published in June 2008 on nuts and volts. I modified their original design using the information provided in the lm2576 official data sheet. If you are in a hurry to build one, please use the schematic on page 11 (figure 22) Read everything, pay special attention to the layout guide, stick to the recommended hardware and it will work. If you\'re not in a hurry, I\'ll try to post a note on it when I finish this watering thing. . . This is a simple project. . . The most difficult thing is not the solenoid valve, but the adapter. . . Solenoid Valve: my 12 V/0 The NC valve is quite cheap on Ebay. They work well under domestic pressure. However, I should pay more for the valve for the direct thread of the garden hose. Look at it. . . Adapter: Because my solenoid valve has 1/2 thread \"( The normal garden hose is 3/4 \") I need two adapters and one female/female adapter to connect the two hoses together. Believe it or not, I bought it from an ordinary hardware store, and these are the most expensive parts of the project! What am I looking ( Now I know, but I have to try many different adapters! ) It is the tap FIP of two 3/4 \"MH x 3/4\" MIP x 1/2. I don\'t know what that means, but this is what you want and you need two of them! You will also need a 3/4 \"hose x 3/4\" hose solid bass dual female rotary adapter. Power supply: I use 12 v lead acid battery in this project to power Arduino and solenoid. The unknown part of the circuit is a self-made switch regulator. If you don\'t know why there is background information, please go back to the last step! . MOSFET: I used a ffp50n06l in this project. Looking at the data sheet, it may be excessive here, as no more than 12 V 0. 5A will be used. On the positive side, I don\'t have to worry about the heat reduction. . . LED (Any color) : Any LED is OK, mainly for debugging. It turns on when the MOSFET is turned on, but it should be obvious if it works because some water should flow. . . Resistance: I used a simple 330 ohm resistance on my bench. The idea is to make sure the traffic through the LED is no more than 20 mA. If the LED is omitted, the resistance is omitted. Diode: this is one person you should not ignore. Normal 1N4007 was used. Wire: connecting everything breadboard: to support all the things arduino ideas I \'ve said before, it\'s a simple build. If you choose to use LED: Don\'t power anything up! What have you forgotten? Where is your diode? ? ? It should be connected between the solenoid terminals so that the small line on the diode is closest to the positive terminal of the solenoid. I decided to take the diode very close to the solenoid because: this is the \"flashing\" sketch for the MOSFET. Load the code in the Arduino IDE and read the notes. This is not rocket science. After trying my track at 28 degrees Celsius in the sun, I registered the maximum temperature of the 35 degree MOSFET and the maximum temperature of the solenoid valve, after three cycles of back-to-back 1 minute, no power for only 5 seconds ( Use the sketch in the previous step). Considering that I only use this circuit to water the plant for a minute or two a day, there is no need for a radiator. Now, if your idea is to turn your backyard into a swamp and let the pet crocodile, I would highly recommend: My final design will involve 3 different areas, each of which is controlled by a MOSFET Even if you have a lot of pressure in your hose, or very short pressure, it\'s not a good thing to use all the solenoid at the same time. First of all, if you run this with a battery like I do, the less juice you extract from the battery, the closest you are to the expected holy grail of the Amp/hour number written on the battery. Yes, the manufacturer did not tell you this, but the battery is not linear: the more you ask them, the less they will eventually give you! To extend it to more areas, just use one digital pin per MOSFET. This is possible if you need more but I haven\'t ( I have a backyard, not a golf course! ). When it comes to battery Since Arduino is drawing 42 mA 24/7, my solenoid is drawing 400 mA per day for 2 minutes and my 12 V 9 Amp/hour full of electricity should be longer than our summer in Montreal. . . With a fully charged 9 Amp/hour, you can get 108 mw/h of energy ( Well, maybe less because you don\'t want deep discharge (and kill)you battery). However, consider 4. 8 w in 2 minutes ( Therefore, the average is 160 mw/h) Plus the 0,247 w/h Arduino needs to be powered by a 85% efficient switching power supply, your power consumption is 407 mw/h. . . Cool, I just found a 12 V, 12 Am p/h battery. . . Even if there are three areas, I should be given more than a summer time! So I\'m not in a hurry to design my next project; Solar Charger! This is an ongoing work; The final version, including three areas and better sketches, should be released soon. But now you do have the tools and knowledge to create your own watering system!